Premium macOS Support & IT Services in Berlin
Professionelle Einrichtung, sichere Datenmigration und schnelles Troubleshooting für Ihre Apple-Geräte durch HerbstInstall Berlin.
Jetzt Termin vereinbaren
Unsere Mac-Dienstleistungen

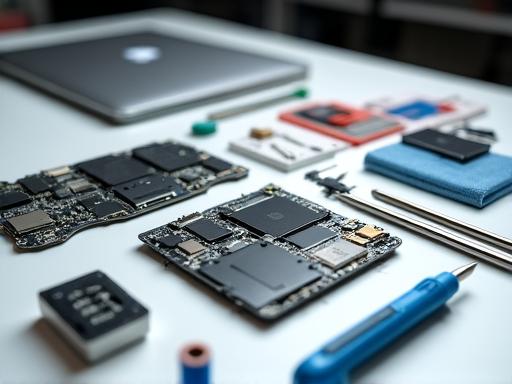
Systeminstallation & Setup
Ersteinrichtung und Konfiguration von macOS auf neuen oder generalüberholten Geräten nach Apple Best Practices.

Sichere Datenmigration
Verlustfreier Transfer Ihrer wichtigsten Dateien, Passwörter und Einstellungen von Altgeräten oder Windows-Systemen.

MDM & Software-Deployment
Automatisierte Softwareverteilung und Mobile Device Management für Agenturen und Unternehmen.

Troubleshooting & IT-Support
Schnelle Hardware- und Software-Fehlerdiagnose. Wir beheben Systemabstürze, Netzwerkprobleme und Hardware-Defekte direkt vor Ort oder per Remote-Support.
Warum HerbstInstall Berlin wählen?

Höchste Sicherheits- und Apple-Standards
Ihre Datensicherheit steht an erster Stelle. Wir nutzen verschlüsselte Backups und halten uns strikt an die Datenschutz- und Systemrichtlinien von Apple, um Ihr Ökosystem abzusichern.

Lokaler Service in Berlin
Zentral gelegen im Prenzlauer Berg (Dunckerstraße) bieten wir schnelle Reaktionszeiten im gesamten Stadtgebiet.
Express Fehlerbehebung
Ihr Mac streikt? Unsere Notfallhilfe garantiert Minimierung Ihrer Ausfallzeiten.
Erfahrungen unserer Kunden

"Nachdem unser vorheriger IT-Dienstleister gescheitert ist, hat HerbstInstall Berlin unsere komplette Agentur auf ein neues MDM-System umgezogen. Das Software-Deployment lief reibungslos im Hintergrund ab. Absolut professionell und jeden Cent wert!"

"Schnelle Datenrettung nach einem Wasserschaden. Der Migration-Service hat mir buchstäblich das Leben gerettet."
"Die macOS Systeminstallation von Windows auf Mac war super erklärt und eingerichtet. Perfekter Support!"
Lassen Sie uns Ihr Mac-Problem lösen
Kontaktieren Sie HerbstInstall Berlin für eine unverbindliche Beratung zu Systeminstallation, Deployment oder Troubleshooting.
E-Mail schreiben